3DS/2DS Family
The following steps are required for you to connect to the Pretendo Network:
Downloading Nimbus
ℹ️ If installed directly from your console for the first time, you will still be required to install the associated IPS patches from GitHub. Once installed, updates may be managed purely from Universal-Updater
Before starting, power off your console and insert its SD card into your computer.
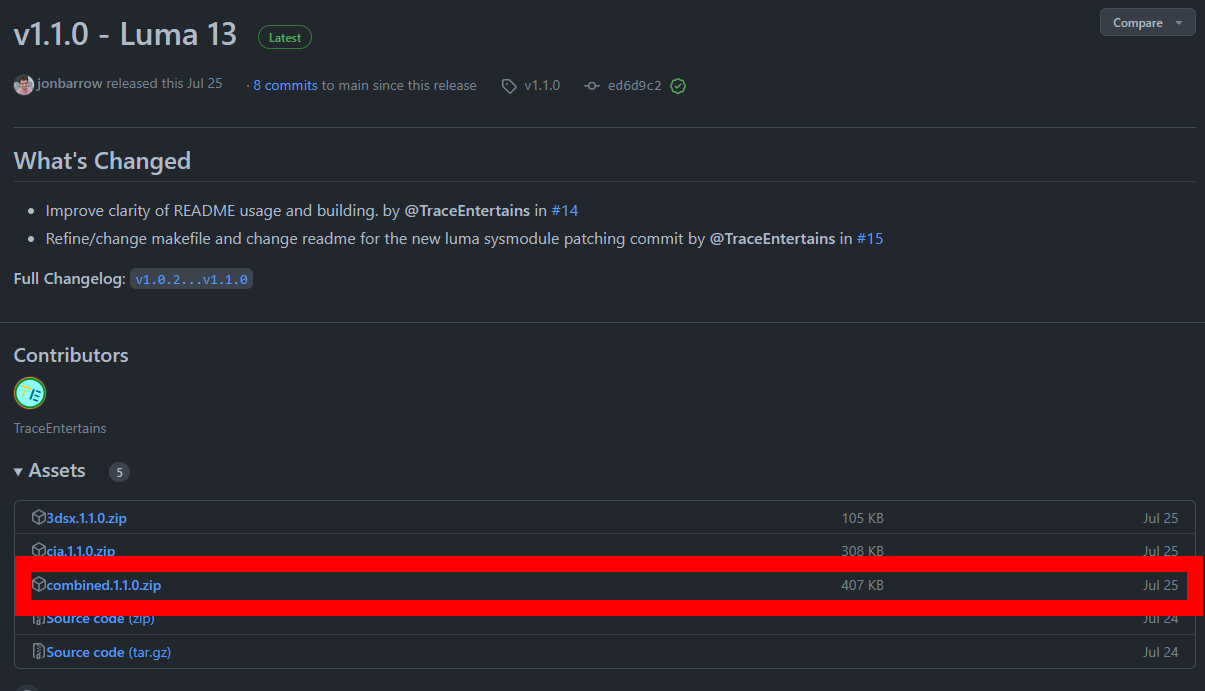
Once inserted, download the latest Nimbus release.
Nimbus is available as both a 3DSX app and an installable CIA. The releases page offers downloads for both. Select the version you would like to use, or select the combined.[version].zip archive to use both.

Extract the contents of the zip archive to the root of your SD card. If you are asked to merge or overwrite files, accept the changes.
Ensure your SD card has all the following files
SD:/luma/titles/000400300000BC02/code.ips(Miiverse, JPN)SD:/luma/titles/000400300000BD02/code.ips(Miiverse, USA)SD:/luma/titles/000400300000BE02/code.ips(Miiverse, EUR)SD:/luma/sysmodules/0004013000002F02.ips(SSL)SD:/luma/sysmodules/0004013000003202.ips(FRD/Friends)SD:/luma/sysmodules/0004013000003802.ips(ACT/NNID)SD:/3ds/juxt-prod.pem(Juxtaposition certificate)
If not installed through Universal-Updater, ensure at least one of the following also exists
SD:/cias/nimbus.ciaSD:/3ds/nimbus.3dsx
Insert your SD card back into your console.
Luma patches
In order to make use of the Pretendo Network service, you will need to enable Luma patches on your console. Hold the SELECT button on your 3DS and power it on.
On the screen that is displayed, make sure that these following options are enabled:
Enable loading external FIRMS and modulesEnable game patching
Press START to save and continue with these changes.
Installing Nimbus to HOME Menu
If you downloaded the combined or cia archives, you can install Nimbus to the HOME Menu for quick and easy access.
Open FBI. If you do not have FBI, download the latest release from GitHub. Select SD, then cias. Find and select nimbus.cia. Select either Install CIA or Install and delete CIA.
Once it has finished installing, press the HOME button and exit FBI. You should see a message that a new application has been added to the HOME Menu. Click OK and you'll now have Nimbus on your HOME Menu.
Using Nimbus
Depending on how you installed Nimbus, launch it either through the Homebrew Launcher or the 3DS HOME Menu. Select either Pretendo or Nintendo to swap between services.
Your selection persists between reboots.
Signing into your PNID
The 3DS does not rely on NNIDs for the vast majority of it's game servers. Because of this, using a PNID is also not required for most games[1].
Setting up a PNID on the 3DS is the same as setting up a NNID. You may either create the PNID on your console, or register from an account on our website and link it to your console once you're ready.
It is recommended to register the PNID on your device at this time, as registering on the website does not currently allow you to change your user data.
Other information
How does Nimbus work?
Nimbus will create a 2nd local account set to the test NASC environment. The IPS patches will set the test NASC environment URLs to point to Pretendo. You may freely switch between Pretendo and Nintendo. Your selected mode will persist between reboots.
2nd local account?
You may have thought to yourself; "2nd local account? What's that? I thought the 3DS only had one account?" And you'd be half right. The 3DS only normally supports one account, and you may only have one account active at a time. However Nintendo implemented support for multiple local accounts on the 3DS/2DS which remains unused on all retail units. On a normal retail unit only one local account is ever made, which is set to the prod NASC environment. Local accounts may be set to prod, test or dev. Nimbus makes use of this unused feature to create sandboxed local accounts with different environments
- [1] Some games may require a PNID for certain actions, such as eShop purchases. The only known game which requires a PNID for general use is Nintendo Badge Arcade, which is not yet supported
Restoring Nintendo Badge Arcade Badges
- Insert your SD Card into your PC.
- Back up your badges at the folder on your SD Card
SD:Nintendo 3DS/ID0/ID1/extdata/00000000/000014d1. - Download Simple Badge Injector.
- Insert your SD Card into your console.
- Use Nimbus to switch to Pretendo.
- Open Simple Badge Injector and make a note of the "Nintendo Network ID" value.
- Still inside SBI, choose the option to dump your badge data files.
- Turn off your 3DS and remove the SD card. Insert your SD card into your PC.
- Download and open Advanced Badge Editor.
- Go to
File > Open Data, then choose the folder where BadgeData.dat and BadgeMngFile.dat are. (Located atsd:/3ds/SimpleBadgeInjector/Dumped) - Replace the NNID value with the one you made a note of in SBI earlier.
- Select
Save Asto save the modified file separately from the backup. - Put your modified badge data filed into
sd:/3ds/SimpleBadgeInjector - Put your SD card back into your 3DS and go back into SBI
- Inject your modified badge data files.
All badges placed on the home menu will be deleted, and you have to re-add them in the order you have had them before.
If you encounter any errors, restore your backed up badge data through SBI. Injecting badges while using Pretendo Network will make them disappear when swapping back to Nintendo Network, and vice versa.